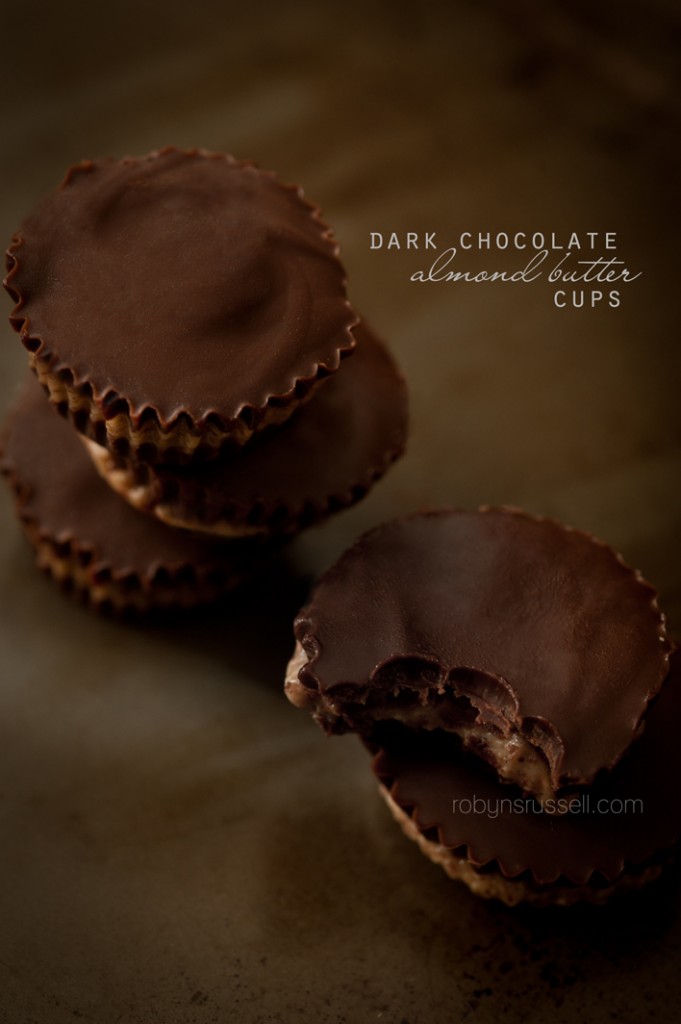
Delicious. Dark. Divine. Healthy?? Well okay, we’re still talking about chocolate here but it’s much healthier than the crap you buy in the store with a very small number of ingredients. That means no chemicals. No words you can’t pronounce or spell. Just good old fashioned melt in your mouth ingredients that you and your family will love. Best of all, they are gluten free, require no baking, and are best kept frozen so that you can enjoy them over several days.
I modified this recipe so that you can make it without any glitches.

For the chocolate (on the bottom and on top):
4 oz unsweetened baker’s chocolate, semi sweet, or dark chocolate
2 tbsp butter (please for the love of God, don’t use margarine)
2 tbsp organic coconut oil
4 tbsp honey
For the filling:
1 cup organic almond butter *I will be trying organic peanut butter next time
2 tbsp honey
1 tbsp pure vanilla extract
1 pinch of sea salt
Directions:
1. Line a 24 count mini muffin pan with liners.
2. Heat a saucepan over medium low heat. Melt the butter, coconut oil and chocolate together. Make sure to whisk often as you do not want the chocolate to burn.
3. Once melted, remove from heat. After 1-2 minutes of cooling, add the honey and whisk.
4. Use 1/2 tsp to line the bottom of each muffin liner. No really, use a 1/2 teaspoon to cover just the bottom (otherwise, you’ll use too much or too little and this recipe makes exactly what you need so don’t overdo it or you’ll have to make more). I found that my liners didn’t want to sit completely flushed to the pan. They kept popping out. This is okay, try not to poke at them too much. Once filled, place your muffin pan in the freezer for 10 minutes. It needs to be hardened so give it at least 10 minutes.
5. While the chocolate hardens, grab a bowl and mix the filling ingredients together. Yep, mix them all in. Once you’re done that and your chocolate has hardened, use a teaspoon to scoop out 1-1.5 tsp of filling into each cup. Try to make the filling as neat as possible, pressing it down into the cup so that it creates a smooth layer on top.
6. Spoon a small amount of chocolate on top, basically to reach the top of the liner. Try to spoon your chocolate evenly so that they look nice once you remove the liner from the chocolate.
7. Place the muffin pan back in the freezer for at least 20 minutes to harden. Et voila!
I let my muffin pan sit in the freezer for 4 hours. I transferred everything out into air tight containers and stored a few in the fridge to consume and photograph and the rest in the freezer for later. If you take them out of the fridge or freezer to thaw, there really is no need. They need maybe 5 minutes at most before they start melting. I learned this the hard way as the ones I set aside to photograph were in the fridge (which meant they melted faster on me). I put them in the fridge because I didn’t want to destroy the nice ridges I got from the liners and thought it would peel off better coming from the fridge. But it really makes no difference. Even straight out of the freezer, it’ll melt in your hands after a minute or two so just be prepared. But it’s the good finger licking kind of sticky so it’s okay in my books!
This recipe is really simple and much healthier, so I urge you to give it a try before you buy a chocolate peanut butter cup for your kids to eat. And believe me, I love chocolate peanut butter cups .. but after making these, there really is no reason why I can’t make them myself! But I will definitely try peanut butter next time! Almond butter is yummy but it’s an acquired taste. I’m actually a tad allergic but it didn’t stop me from making sure these morsels passed the test! Until next time, Robyn xo

