So … this is a bit new for me but there are no rules when it comes to blogging. I try to keep this blog strictly for client work (and the occasional post or photo about my kids/family) but I am quickly realising that it’s just as important for YOU to get to know ME better. I think this is a good start. Blogging about food! ;)
Anyone who knows me knows how much I love food and if it’s healthy, I’m one happy camper! My kids used to be great eaters until they realised they could spit out whatever they didn’t want to swallow. That’s when the sadness set in. The constant wonder if they’d ever consume a veggie again. It broke my heart to see them reject healthy vibrant super foods day after day, because I happen to love vegetables myself. Even more than fruit. But, instead of wallowing in my own sorrow, I decided to fight back. Enter Jessica Seinfeld.

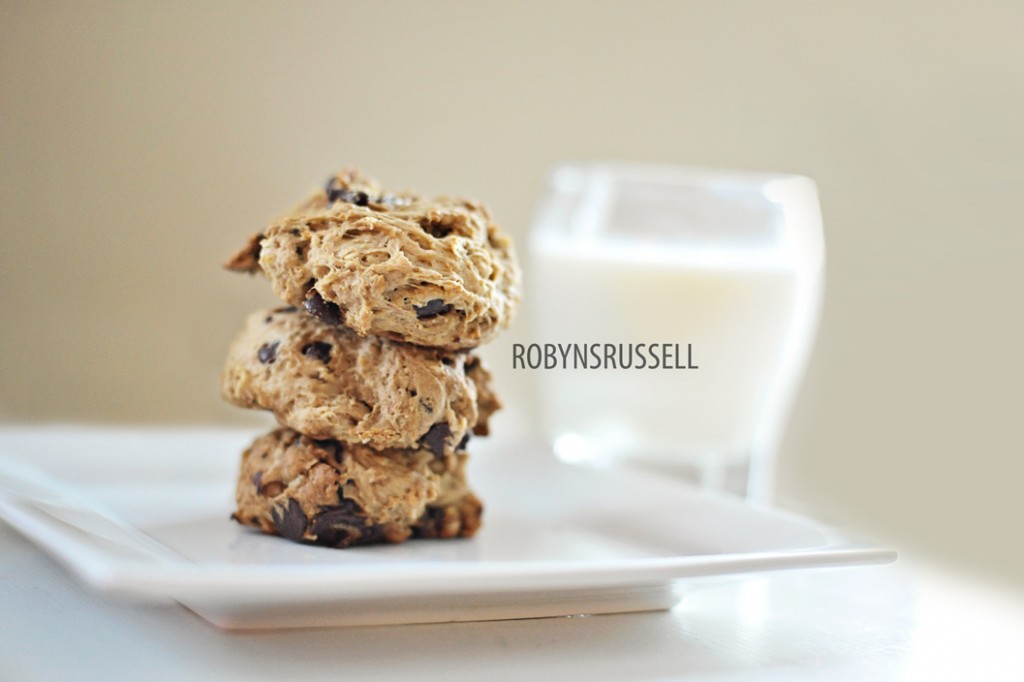
These are the BEST cookies I’ve ever made and I swear, I’m not trying to toot my own horn here. They really are delicious. And you would never in a million years think that they were made out of … chickpeas! But they are! I love Jessica Seinfeld’s cookbook “Deceptively Delicious“. My kids love everything I’ve ever made out of that book too. Recipes are easy to make and tasty. Best of all, it’s not just for kids. We enjoy it too, which is a huge bonus for us eating one meal as a family! I will admit, I hate pureeing and that’s a huge part of why these recipes are successful. But if my kids refuse to eat brocolli or sweat potato because of how it looks, I’m going to hide it. In their breakfast, lunch, and dinner. And yes, I’ll even hide it in their treats … because I care! ;)
I tried this recipe tonight and couldn’t believe how easy it was to make. Try this recipe once and you’ll never make “real” chocolate chip cookies again. My husband had already consumed almost a dozen cookies before I took this photo so I know they’re good (sorry, the photo is a bit crap because I was in a rush to shoot before I lost my light). Best of all, this recipe yields over 2 dozen cookies, which can be frozen for .. well … the recipe says up to 3 days but I know some people who have frozen them for weeks at a time and profess that they’re still just as good. Your call. Give it a try and let me know what you think!
Chocolate Chip Cookies (modified by yours truly)
1 cup firmly packed light or dark brown sugar
3/4 cup margarine or butter *Use butter people, it’s healthier
2 large egg whites
2 tsp pure vanilla extract
1 15 ounce can of chick peas, drained and rinsed *I used organic chickpeas because I’m fancy like that
2 cups semisweet chocolate chips
3/4 cup chopped walnuts (optional) *I left this out because I haven’t exposed my kids to nuts yet
3/4 cup raisins (optional) *I left it out because I didn’t have raisins on hand
2 cups all purpose flour
1/2 cup old fashioned oats
1 tsp baking soda
1/4 tsp salt
1. Preheat oven to 350F. Grease baking sheet with butter.
2. In a large mixing bowl, beat sugar and butter with a wooden spoon or mixer on medium speed until smooth. Beat in egg whites and vanilla (I did this all with a spoon). Then, mix the chickpeas and chocolate chips (I used a mixer on medium speed and mixed the chickpeas first. This took a really long time b/c I used an old mixer. Once it was fairly smooth, I threw in the chocolate chips). Once mixed, add the flour, oats, baking soda, and salt and mix on low speed until a thick dough forms.
3. Drop the dough by the tablespoon onto the baking sheet, spacing the cookies about 2 inches apart (I use an ice cream scoop for perfect balls). Press gently with a fork to flatten. Bake until the cookies are golden brown and set (the recipe says 11-13 minutes but I cooked them more for 20 minutes because my cookies were a bit bigger in size). Transfer to rack and cool. They’re ready to eat in less than 5 minutes!
4. You can store these in an airtight container for up to 3 days. I made more than 2 dozen cookies and my cookies were large!
PS: If you decide to freeze some, make sure to warm them up for a few seconds before devouring! Enjoy!
PPS: Send me a note if you liked this blog post and want to see more. I am always trying new dishes and love to share when I find something that’s tasty and easy to make. I look forward to hearing from you! Until next time! Robyn xo

